

When your car’s air conditioning (AC) stops blowing cold air, it can quickly turn summer driving into an uncomfortable ordeal. In many cases, the problem is due to low refrigerant levels. Learning how to charge automotive air conditioning can save you time and money—especially when the issue is minor and can be addressed with the right tools and knowledge. This detailed guide will walk you through everything you need to know.
What Does “Charging” Your AC Mean?
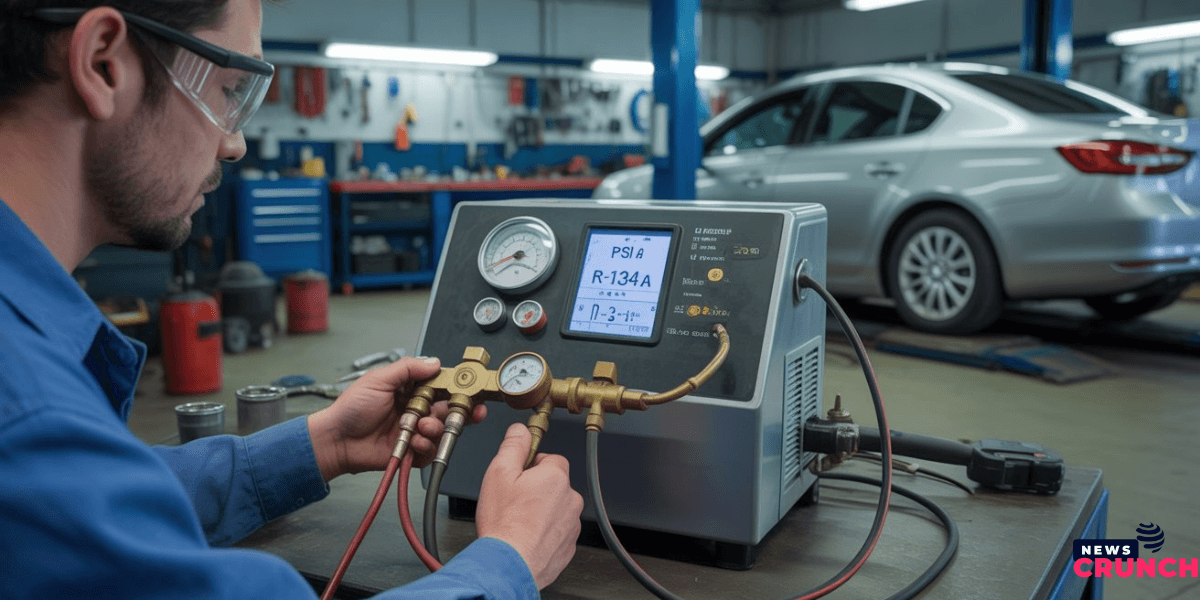
Before diving into how to charge automotive air conditioning, it’s essential to understand what “charging” means. Charging your AC system refers to adding refrigerant (commonly R-134a or R-1234yf) to your car’s air conditioning system so it can effectively cool the cabin. Over time, small leaks or natural seepage can reduce refrigerant levels, impacting performance.
Tools and Supplies You’ll Need
Before attempting to recharge your vehicle’s AC, gather the following items:
- AC Recharge Kit (with a refrigerant can and a pressure gauge)
- Protective gear (gloves and safety goggles)
- Thermometer
- Service manual for your vehicle (to locate AC components and get specifications)
- UV dye or leak detector (optional)
- Clean rag
Safety Precautions
Learning how to charge automotive air conditioning also involves knowing how to do it safely. Keep these safety tips in mind:
- Always wear safety goggles and gloves.
- Do not overcharge the system—too much refrigerant can cause damage.
- Make sure you’re working in a well-ventilated area.
- Never mix refrigerant types (R-134a and R-1234yf are not interchangeable).
- If you’re unsure or uncomfortable at any point, consult a certified automotive technician.

Step-by-Step Guide: How to Charge Automotive Air Conditioning
Step 1: Confirm the Problem
Before charging the system, make sure low refrigerant is the actual issue. Signs of low refrigerant include:
- Warm air blowing from the AC vents
- The AC clutch not engaging
- Frost buildup on AC components
- Hissing sound from the AC lines
If these symptoms are present, you can proceed with checking pressure levels.
Step 2: Locate the Low-Pressure Port
Open the hood and locate the low-pressure service port. It’s typically on the larger diameter aluminum tubing between the compressor and the firewall. It may have an “L” label and will only connect to the hose fitting from your recharge kit (the high-pressure port won’t fit).
Note: Your vehicle’s service manual can help pinpoint the exact location.
Step 3: Check the Current Pressure
Attach the pressure gauge to the low-pressure port. Start your car and turn the AC on to the maximum cool setting with the fan at full blast. Read the pressure gauge. If it shows low pressure (typically under 25 psi for R-134a systems), you’re likely dealing with a refrigerant shortage.
Step 4: Add Refrigerant
Now that you’re ready to charge:
- Shake the refrigerant can.
- Attach the can to the gauge and hose.
- Connect the hose to the low-pressure port securely.
- While the engine is running and AC is on, press the trigger to release refrigerant into the system.
- Frequently check the pressure gauge to avoid overcharging. The target pressure is often between 30–40 psi, but consult your vehicle’s manual.
Tip: Occasionally stop and monitor the air coming from the vents. It should begin to cool as the refrigerant levels rise.
Step 5: Monitor Temperature and Pressure
Use a thermometer to check the air temperature from the AC vent. Ideally, the temperature should drop to between 35°F and 50°F (1.6°C to 10°C). Keep checking both the temperature and pressure levels as you charge.
Step 6: Stop Charging and Detach Equipment
Once the system reaches the desired pressure or cold air starts blowing consistently, stop charging:
- Release the trigger on the can.
- Detach the hose from the low-pressure port.
- Replace the cap on the service port tightly.
Step 7: Check for Leaks (Optional but Recommended)
If your system required charging sooner than expected, it could indicate a leak. Use a UV dye included in some kits or a leak detector to inspect for refrigerant loss. Common leak points include:
- Compressor seals
- Hose joints
- Evaporator coil
- Condenser
- If a leak is found, it may require professional repair.
How Often Should You Recharge Your AC?
Refrigerant doesn’t get “used up” like gasoline. If your system is sealed properly, it can go years without needing a recharge. If you’re recharging it frequently (annually or sooner), there’s likely a leak or underlying mechanical issue.
Tips for Maintaining Your Automotive AC
- Run your AC at least once a week, even in winter, to keep the system lubricated.
- Regularly inspect belts and hoses.
- Replace the cabin air filter yearly.
- Have a professional AC inspection every 1–2 years.
When to Seek Professional Help
Although learning how to charge automotive air conditioning can save money, certain issues are best handled by certified technicians, especially if:
- The AC still blows warm after charging.
- You suspect a major refrigerant leak.
- The compressor doesn’t engage.
- You’re using R-1234yf (which often requires dealership tools).
Modern vehicles sometimes need refrigerant recovery and specialized tools that DIY kits can’t replace.
Final Thoughts
Understanding how to charge automotive air conditioning is a valuable skill for any car owner. It not only helps restore comfort during hot weather but also teaches you more about your vehicle’s systems. With the right tools, safety awareness, and attention to detail, you can confidently recharge your AC and extend its lifespan.
Just remember—if something doesn’t seem right, don’t guess. A visit to a trusted mechanic can save your system from long-term damage.